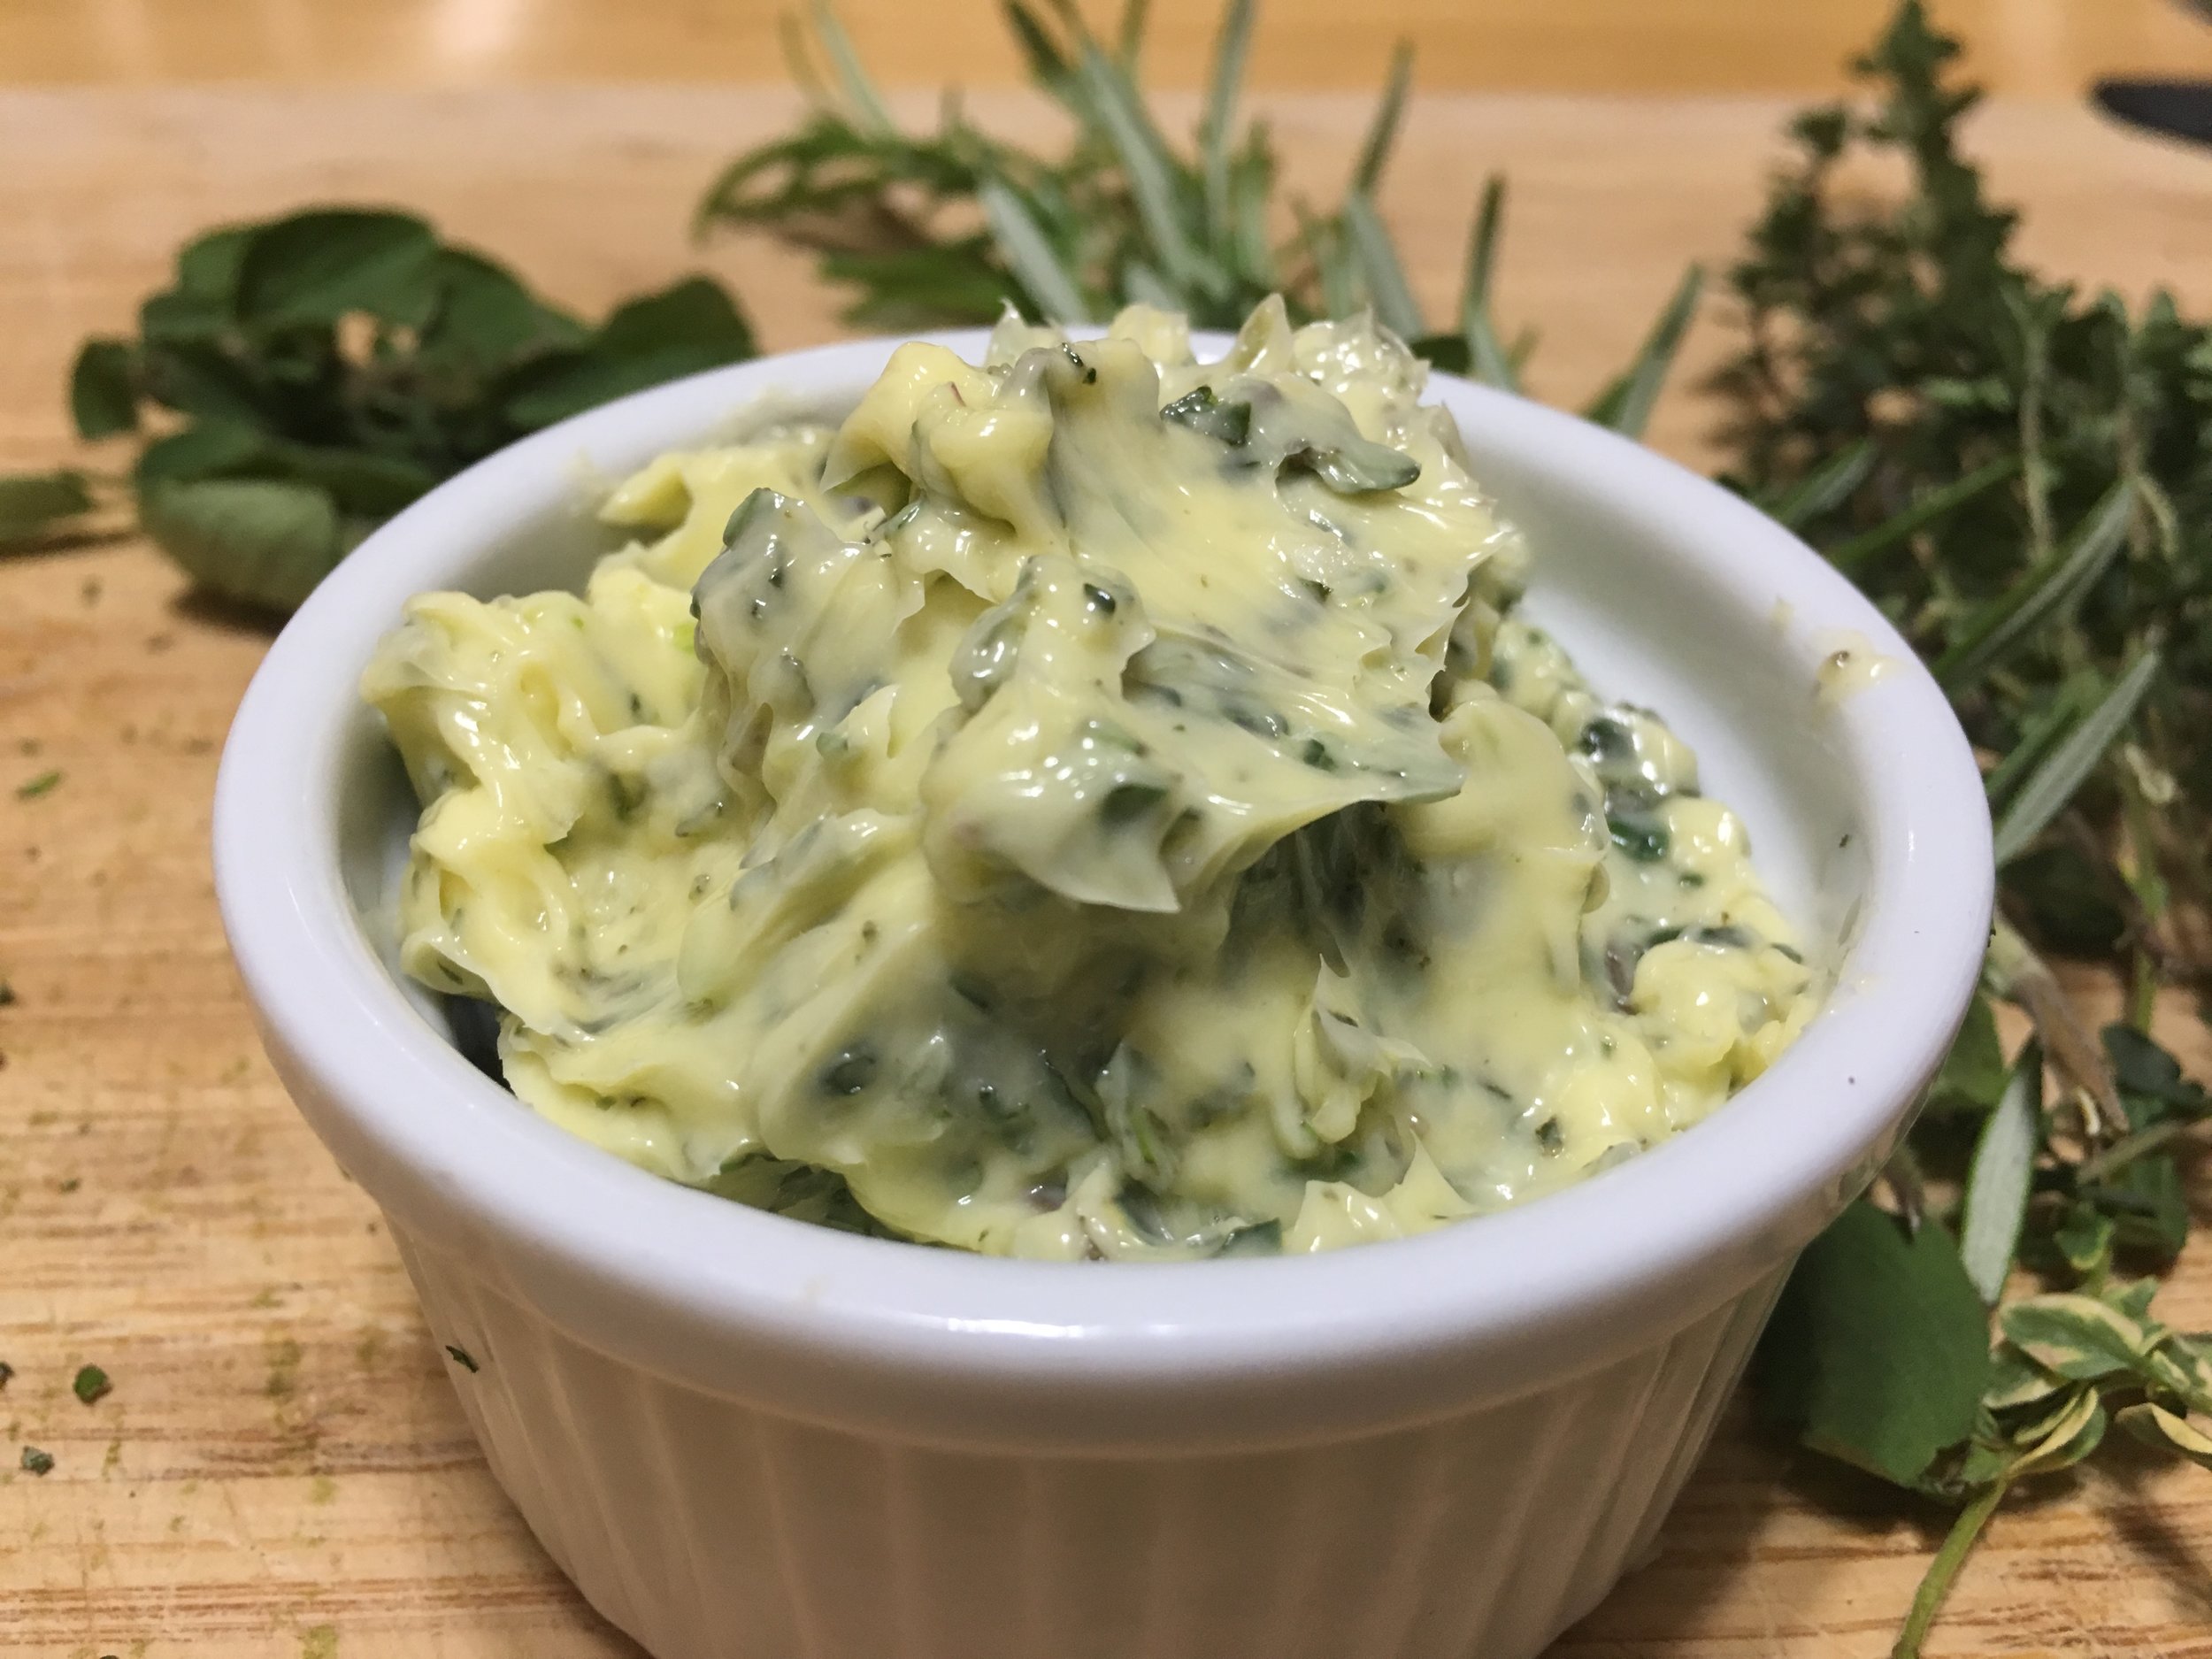
Fresh Garlic Herb Butter

Are you bored with your cooking?

Are you intimidated with cooking a special cut of meat like lamb chops, ham or beef tenderloin?

This whipped butter with garlic and herbs is perfect for a steak, pork chops or lamb chop!

IMG_1091.JPG

It’s even perfect for scrambled eggs, fish, pork chops or ham! I even put it on my fried potatoes in this morning’s breakfast!

It is seriously the best kept secret to delicious tasting meat of any kind!

It doesn’t require any brining or thinking ahead. I keep a jar of this Fresh Garlic Herb Butter in my fridge at all times to add to anything I’m cooking.

I recently grilled one of our premium grass fed beef steaks and I almost ruined it. I usually like them quite rare and grass fed beef is often more lean (but more flavorful) than conventional beef. It also cooks much quicker. Long story short I overcooked them.

But this one easy addition saved my steak.

Whether you are a grill master or not this recipe can bring your cooking to a whole new level.

This time of year our grill sits out in the rain so we pull out our cast-iron pans to use on the cooktop.

It’s actually a better way to cook your meat because when you have more surface area you get more brown tasty bits on your meat. Also, because the pan is cast-iron you receive trace amounts of iron added to your food. It’s a great thing, because we are all depleted in minerals generally speaking.

I like to heat the cast iron pan over medium-high heat and add a tiny dollop of lard, olive oil or butter.

If it’s a pork chop, steak, lamb chop, chicken breast or fish fillet we season the meat with a little salt and pepper.

If it’s a ham, I cook in the oven and spread the Fresh Garlic Herb Butter over the top the last 15 minutes of cooking.

Back to the chops, steaks, fillets and breasts…place the meat in the ripping hot skillet and let cook 4-7 minutes or until juices start coming out of the top. This all depends on the thickness of the meat. Flip and cook 3-4 minutes more.

IMG_1012.JPG

Doneness is a whole other blog post I’ll create later, the important part is taking the meat off BEFORE the desired doneness is reached.

Take the meat off the skillet and place on a warm plate with a generous dollop of Fresh Garlic Herb Butter.

Cover with an upside down plate or piece of foil. Then let it rest for 10 minutes.

Once the steak has rested check it for doneness. If it’s underdone you could place it back in the skillet.

You will soon be eating the most tasty savory meat STRAIGHT from your own kitchen!


Recipe

Oregano, Rosemary, English Thyme, Lemon Thyme & Garlic

Oregano, Rosemary, English Thyme, Lemon Thyme & Garlic

  • 1/2 stick salted butter at room temp (I love Kerrygold Grass Fed butter)

  • 2-4 cloves minced garlic

  • 3 tablespoons fresh herbs minced (combo of thyme, oregano, rosemary, chives, parsley, or tarragon)

    • My favorite combo for lamb, pork and beef is rosemary, lemon thyme, oregano and english thyme.

    • For chicken or fish parsley might be nice to swap out for the rosemary.


Instructions

IMG_1084.jpg
  1. Have your meat at room temperature

  2. Chop your garlic and herbs

  3. Combine your butter and herbs in a bowl, smashing it together with a spoon

  4. Cook your meat to desired doneness

  5. When it’s resting put a generous tablespoon of herb butter on top

  6. Enjoy!

IMG_1089.JPG

Tell me:

Did you try it?

What meat did you put it on?

Was it the most delicious thing you’ve ever tasted???

6 Simple Sides for Thanksgiving Dinner

When it comes to Thanksgiving Dinner everybody LOVES simple!

You already have a huge task in front of you!

The act of shuffling pan after pan in and out of the oven, adjusting temp times and cook times - all around a ham and a turkey is just TOO MUCH!

Here are 6 Simple Sides that will compliment your Nourished With Nature Pasture Raised Turkey, Ham or Leg of Lamb.

These fresh new ideas are of course in addition to your family’s favorites: mashed potatoes and gravy, stuffing, cranberry sauce, and green bean casserole. Mmmmm….it just isn’t Thanksgiving without those staples at my table!

These are easy side dishes that can be prepped ahead of time and don’t require dirtying 5 pans, 3 bowls and the Kitchenaide. Ain’t nobody got time for that!!!

Pick one or add them all!

Here we go:

  1. Crusty Artisan Bread

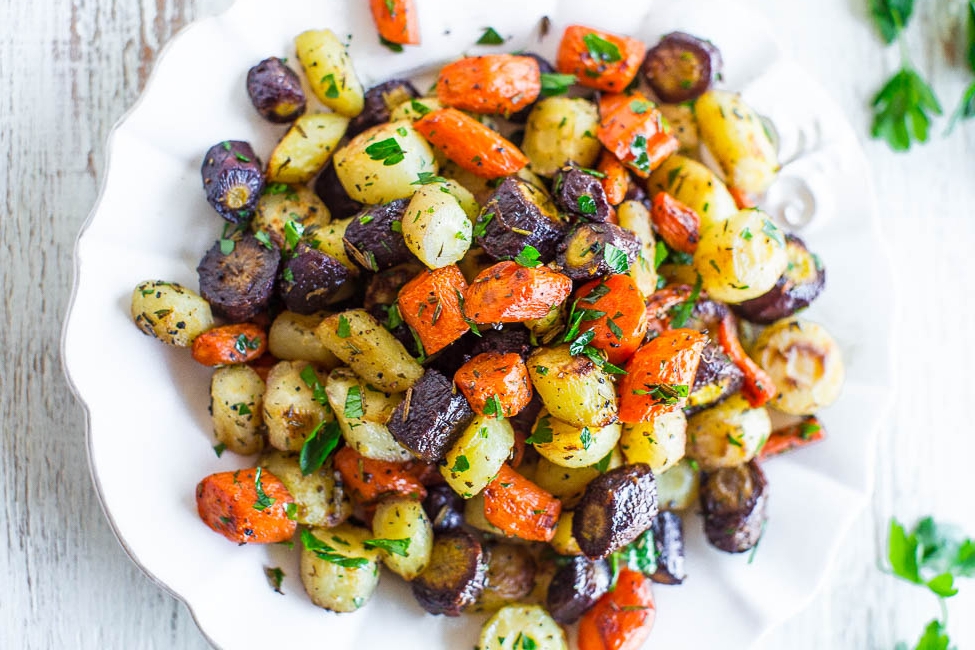
  2. Herb Roasted Tri-Colored Carrots

  3. Holiday Honeycrisp Salad

  4. Herb Roasted Delicata Squash

  5. Fall Fruit Salad

  6. Garlic Balsamic Roasted Brussel Sprouts


Crusty Artisan Bread

Photo Credit: The Comfort of Cooking

Photo Credit: The Comfort of Cooking

Ingredients:

  • 3 cups all purpose flour

  • 2 tsp salt

  • 1/2 tsp active dry yeast

  • 1 1/2 cups lukewarm water

  • 1 Tbsp lard, olive oil or butter

  • Dutch oven or any large oven safe bowl with lid

Directions:

  1. In a large bowl stir together the flour, yeast and salt. Stir in water using a wooden spoon until the mixture forms a shaggy but cohesive dough. The less you “work” it the more soft fluffy air pockets will form.

  2. Cover bowl tightly with plastic wrap and let sit at room temp for 8-24 hours. Dough will bubble up and rise.

  3. After dough is ready, preheat oven to 450 degrees F. Place your Dutch Oven, uncovered, into the preheated oven for 30 minutes.

  4. While your Dutch Oven preheats, turn dough onto a well floured surface. With floured hands form the dough into a ball. Cover dough loosely with plastic wrap and let it rest.

  5. After 30 minutes are up, carefully remove the Dutch Oven. Add a Tbsp of lard to coat the bottom of the dish to prevent sticking. With floured hands place the bread dough in it.

  6. Replace cover and bake for 30 minutes. Carefully remove cover and bake an additional 7-15 minutes more, until your bread is golden brown.

  7. Carefully remove bread to a cutting board and allow to cool before slicing and slathering with pastured butter.


Herb Roasted Tri Colored Carrots

Photo Credit by Avery Cooks

Photo Credit by Avery Cooks

Ingredients

  • 2 Pounds carrots, trimmed, peeled and cut into 1/2 inch pieces

  • 2 Tbsp pastured pork lard or olive oil

  • 3 tsp fresh rosemary chopped

  • 1 tsp fresh thyme

  • 1 tsp salt, or to taste

  • 1 tsp pepper, or to taste

  • 2-3 tsp fresh Italian flat-leaf parsley, finely chopped

  • 2 tsp lemon juice

Directions

  1. Preheat oven to 450 degrees F and line a baking sheet with aluminum foil for easier cleanup.

  2. Add carrots to baking dish and drizzle olive oil over them evenly.

  3. Add salt, pepper, thyme and rosemary and toss gently with your hands to evenly coat the carrots.

  4. Arrange the carrots in a flat layer and bake for 30-35 minutes or until they are lightly carmelized and fork tender. Stir and flip halfway through baking.

  5. Once they reach your desired doneness, pull out of the oven, sprinkle with fresh parsley and drizzle with lemon juice, and you’re done!


Holiday Honeycrisp Salad

Photo Credit: Five Heart Home

Photo Credit: Five Heart Home

Ingredients

For the Salad

  • 3 medium apples (honey crisp or fuji)

  • juice of 1/2 lemon

  • 12 oz salad greens (spring mix, baby spinach, arugula, baby romaine or any combo of your favorites)

  • 1 cup pecan halves toasted or candied

  • 3/4 cup dried cranberries or cherries

  • 4 oz crumbles blue cheese

For the dressing

  • 1/2 cup extra virgin olive oil

  • 1/4 cup apple cider vinegar

  • 1/4 cup unsweetened apple juice or apple cider

  • 2 Tbsp honey

  • 1 Tbsp lemon juice

  • 1/2 tsp salt

  • fresh ground black pepper to taste

Directions

  1. Start with preparing the dressing. Combine all ingredients into a mason jar, screw the lid on tightly and shake vigorously until everything is combined. Set aside.

  2. Place apple slices and juice of 1/2 lemon in a large bowl, mix to evenly coat apples

  3. In a large salad bowl, layer salad greens, apple slices, pecans, dried cranberries and blue cheese. Just before serving dress with desired amount of dressing and toss until evenly coated.


Herb Roasted Delicata Squash

IMG_0347.JPG

Ingredients

  • 2 Delicata squash sliced into 1/2” slices

  • 2 Tbsp finely chopped fresh rosemary

  • 1 Tbsp fresh thyme pulled from the stems

  • 4 garlic cloves, minced

  • 2 Tbsp pastured pork lard or olive oil

  • 1 tsp salt or to taste

  • 1 tsp fresh ground pepper, or to taste

Directions

  1. Preheat oven to 400 degrees F

  2. Toss all ingredients together on a sheet pan lined with tin foil (delicata, herbs, garlic, olive oil, salt and pepper). Spread the squash out to be just a single layer.

  3. Bake for 30-35 minutes or until soft and slightly golden.

  4. Serve warm!


Fall Fruit Salad

Photo Credit Chelsea’s Messy Apron

Photo Credit Chelsea’s Messy Apron

Ingredients

  • 2 cans (15 ounces EACH) mandarin oranges, drained

  • 1 large Bartlett pear, diced

  • 2 small apples (fuji or gala), thinly sliced

  • 5 kiwis, peeled, sliced, and halved

  • 1 tablespoon honey

  • 2 and 1/2 tablespoons freshly squeezed lemon juice

  • 1/2 teaspoon lemon zest

  • 1 teaspoon poppyseeds

  • 2 whole pomegranates or 1 container (4.3oz) POM POMs Pomegranate Seeds

  • Fresh mint, optional

Directions

  1. In a large bowl, toss together the drained mandarin oranges, the diced Bartlett pear, the thinly sliced apples, and the peeled, sliced, and halved kiwis. Set aside.

  2. In a small bowl, whisk together the honey, lemon juice, lemon zest, and poppyseeds. Pour over the salad and toss gently. Cover and refrigerate for 30 minutes.

  3. Remove and top with the pomegranate seeds and fresh (chopped) mint if desired. Serve immediately.

*Technique Tip: If you are using whole pomegranates remove the seeds by cutting in half horizontally. Hold the pomegranate upside down in your hand, skin facing up and whack it with a large wooden spoon or spatula. This will knock out the seeds into your hand then fall into the bowl. It’s a bit messy but works really well!


Garlic Balsamic Roasted Brussel Sprouts

Photo Credit: Apple of my Eye

Photo Credit: Apple of my Eye

Ingredients

  • 1.5 lbs Brussel sprouts cut in half

  • 3 garlic cloves, diced

  • 2.5 Tbsp pastured pork lard or olive oil

  • salt and pepper to taste

  • 1-2 Tbsp balsamic vinegar

Directions

  1. Preheat oven to 400 degrees F

  2. Place Brussel sprouts on a baking sheet and sprinkle with diced garlic, salt and pepper

  3. Drizzle with olive oil and toss with your hands to coat evenly

  4. Roast for 20-25 minutes until throughly cooked and leaves begin to get crispy brown

  5. Remove from oven and drizzle balsamic vinegar over them and enjoy!


So there you have it! Six simple side dishes that will compliment your Thanksgiving dinner!

These are all sides I have made and taste tested so they have my stamp of approval!

Now can spend more time enjoying your families and less time worrying about what you are going to cook!

Remember to stop by our farm store for Pastured Pork Lard which is a delicious and healthy substitute for other cooking oils.

We also have Pasture-Raised Hams and Grass-Fed Leg of Lamb that would make excellent centerpieces for your Holiday Feast if you didn’t get your turkey reserved from us in time.

Leave me a COMMENT below, which one are you going to make this year?

Many Blessings and Happy Thanksgiving!

Healthy Homemade Mayonnaise

37290219_10217272256057894_3007637650313052160_n.jpg

Recipe adapted from our friend Mollie Vacco.

This DIY Mayonaise is healthy and delicious too!  It's one of the easiest condiments to make from home!

It will help you eliminate one more item in your diet that may be full of yuk and help you on your clean eating journey.

I love it when I know what I'm eating, and when you make your own you know that all the ingredients are safe.

We are big on no corn and no soy in our animal feeds and soybean oil is used in SO MANY condiments.  Soy is a hormone disrupter, not good for the endocrine system, so kick it out of your life! 

Ingredients:

  • 4 Nourished With Nature Pastured Egg Yolks

  • 1/2 cup Organic Olive Oil

  • 1 Tbsp Apple Cider Vinegar

  • 1 tsp Dijon Mustard (optional)

  • Pinch of Natural Trace Mineral Salt (Redmond Sea Salt)

Instructions:

  1. Combine egg yolks, vinegar and dijon mustard with an immersion blender or whisk and pulse once.

  2. Slowly add in olive oil. VERY slowly, start with a drop or two, then a light stream while blending until it is all incorporated.

  3. Taste and salt a pinch at a time.

  4. Store in a mason jar in the fridge. With our farm fresh eggs this mayo can last up to 2 weeks.

  5. Enjoy!

Are you going to give it a try?

Tell what Nourished With Nature meats you're pairing it with in the comments below.

3 Pastured Egg Recipes You Need

Print-0039.jpg

Breakfast, lunch, and dessert with pastured eggs!

Eggs are the perfect protein, a powerhouse of nutrition.  Eggs from chickens who live on pasture are loaded with Vitamin A, D, K2 and E, folate, biotin, iron, zinc, and selenium.  Egg yolks are also a wonderful source of good cholesterol and choline.  

Choline is especially important for developing the nervous system in fetuses and through early childhood.  It contributes to being able to focus on more than one thing at a time, which EVERY MOM NEEDS!

Bottom line...they are a superfood!

In fact, our pastured egg yolks are one of my kids' first solid foods, that's how highly I value them!  I boil them for a couple minutes until the yolk is warm but still runny and dash some Natural Trace Mineral Salt on them and voila!

One fun fact...did you know that the yolk is everything a baby chick needs nutritionally to develop while in the shell?  I used to think that the yolk WAS the chick, but it's not.  It's the amazing source of nutrition and building blocks needed to create a tiny chicken, hence it's an amazing food for us too!

So here are a few of my FAVORITE ways to cook our Non-GMO Pastured Eggs:

FLUFFY SCRAMBLED EGGS

Ingredients:

  • 2 eggs per person you're cooking for
  • 1/4 cup of plain yogurt or sour cream
  • salt and pepper
  • 3-4 Tbsp Kerrygold butter
  • 1/4 cup shredded cheese of your choice (I love sharp cheddar)

Instructions:

  1. Melt butter in a shallow frying pan
  2. In a bowl whisk together your eggs, yogurt or sour cream, salt and pepper
  3. Pour into the pan with the melted butter and using a rubber spatula mix the eggs together with the butter, fluffing them as they cook.
  4. When cooked to your liking (I like mine firm but not dry) sprinkle with shredded cheese
  5. Done!
  6. Serve alongside of sourdough bread and Nourished With Nature's Ham!

You can also get creative and add sauteed veggies, ham or breakfast sausage from our farm store to your scramble! 


SUMMERTIME DEVILED EGGS
 

IMG_8997.JPG

Any BBQ or family gathering isn't complete until somebody shows up with the Deviled Eggs!

In our family it was a tradition my grandmother started, then my mother taught me to love them and now I'm sharing our family recipe with you!

One tip to seemlessly peeling beautiful hard-boiled eggs is to ask your farmer for eggs that are two or more weeks old.  This gives the bloom time to shrink away from the shell a tiny bit and separate without taking chunks of white with it as you peel.

You don't even want to know how old grocery store eggs are.  Two weeks is still VERY fresh compared to what you find there.

So here you go!

Ingredients:

  • 1 dozen Nourished With Nature Pastured Eggs
  • 1/2 cup Healthy Homemade Mayo
  • 4 tsp dijon mustard
  • 1/4 cup sweet zucchini pickle relish (also a homemade family recipe)
  • fresh chives (to garnish)

Instructions:

  1. Using a colander, steam eggs over boiling water for 15 minutes.
  2. Submerge the eggs into an ice bath for 3-5 minutes.
  3. Peel (watch this happen seamlessly).
  4. slice your eggs in half and remove the yolk into a bowl.
  5. Combine yolks, mayo, mustard, relish, salt, and pepper.
  6. Mix it all together and taste test.
  7. Using a frosting piping bag or just a ziplock baggie with the end cut off pipe the yolk mixture into your egg halves.
  8. Garnish with chopped chives (you could also use paprika).
  9. Enjoy!

Grab a couple for your own plate before you set it out at the potluck because after all that work you wouldn't want to miss out on enjoying them!  I assure you, they'll go FAST!

Visit our farm store to pick up fresh pastured eggs.


HEALTHY MAPLE ORANGE Creme Brulee

Ingredients:

  • 1 cup whole raw milk
  • 1 cup heavy raw cream
  • 1/4 cup maple syrup (can substitute for honey or rapadura)
  • 6 egg yolks
  • 1 tsp vanilla
  • 5 drops Orange Vitality Essential Oil from Young Living

Instructions:

  1. Warm milk and cream gently over a low flame.
  2. Meanwhile, beat maple syrup (or honey/rapadura) with egg yolks.
  3. Slowly add milk and cream mixture to eggs, beating constantly.
  4. Blend in Vanilla and Orange Essential Oil
  5. Pour through a fine sieve to remove any bigger pieces of egg yolk.
  6. Pour into individually buttered ramekins or custard cups.
  7. Place in a 9 x 13 pan of hot water and bake at 325 degrees for about 1 hour or until a knife inserted into the custard comes out clean.
  8. Chill well and enjoy as a dessert or for breakfast!
Vanilla, Maple Syrup, Milk and Orange Essential Oil

Vanilla, Maple Syrup, Milk and Orange Essential Oil

Buttered ramekins

Buttered ramekins

Pour custard mix into buttered ramekins

Pour custard mix into buttered ramekins

Custards ready to bake in dish of hot water

Custards ready to bake in dish of hot water

Visit our farm store on Saturdays to stock up on Pastured GMO Free Eggs, we would love to know your favorite way to cook with them!

Cutting Up A Whole Chicken in 5 Easy Steps

When we first started raising meat birds I found myself stuck in the mindset of needing to cook the whole bird and IF I had a recipe that needed only breast meat...I would go buy it!  

Crazy!

We sell our broiler chickens whole, and I realized that sometimes you don't know how to use it any other way.  But you can!  Here is our how to cut up a whole chicken guide because education is power after all! 

Usually, the best chicken breast I can find in SOME stores is Organic.  It's not corn and soy free, it's not pastured so you're missing out on all the vitamins and minerals that the chicken gets from grass, and it's not necessarily local.

When you have perfectly good breast meat right here, WHY go buy it?

For me, it was a lack of know how!  I didn't feel confident, and I decided I'm probably not the only one...hence this little tutorial.

Now I do several birds in one day so that I can stockpile breast meat, wings or thighs and save time when I'm ready to cook dinner.

Confident.  Capable.  Knowledgeable.

Important skills when you are the woman of the house!

I don't know if it's just the homesteader woman in me or what, but I like knowing how to do it ALL!

I really appreciate my husband and the duties he covers on a daily basis.  I also like knowing how to shoot a gun, run the skid steer, manage the chores and cut up a chicken.

Benefits of Knowing How To Cut Up a Whole Chicken

  •  Your meals can be more customizable
  • One less trip to the grocery store 
  • You don't have to compromise on quality
  • You have the carcass and bones to make nutritious healing bone broth.
  • You feel like SUPERWOMAN! (or a manly man)

5 Easy Steps To Cutting Up A Whole Chicken

1.     Thaw the bird at room temp for up to 24 hours before.  If it thaws quickly, put it in the fridge until you are ready to do the cutting.

2.     Find yourself a sharp SHARP knife.  I like Cutco knives and like using a nonserrated knife for this job.  A sharp knife will make this job a breeze.

3.     Remove the wing by cutting at the joint.  You shouldn't have to slice through bone if you find the joint and slip your knife right in between the ball and socket.  Start where the wing joins the body of the bird, make your cut.  Next cut the drumstick from the wing.  Finally cut the wing tip off.  Separate these into 3 different piles: wings, drumsticks, wing tips.

4.     Remove the thigh and drumstick.  Start with the breast of the bird facing up.  Cut through the skin closest to the bird's body so that you can fold the leg out exposing the hip joint.  Look for the ball and socket again and cut the thigh off.  Next, find the joint between the drumstick and thigh and make a cut there too.  Repeat on the other side. The drumstick and thigh are considered the dark meat.

5.     Remove breast meat.  Find the breastbone and cut on one side or the other.  When you come to wishbone you can point your knife straight down and press, chopping through this tiny little Y shaped bone.  Remove it from your breast meat.  You can also choose to remove the cutlet, which is the thin mini breast on the backside of the main breast, or leave it on.  Repeat on the other side.  This is your white meat.

Voila! That's it!  This super easy process will give you every cut of chicken you need!

How to get pastured chickens

If you're looking for healthy and delicious chickens we would love to have you out to our farm!  We have chickens in stock now but we may run out soon.  We raise them only once a year when grass conditions are premium and June will be the next time they are available.

Click here for our farm store hours