Spring Calving At The Farm

The beauty and rhythm of raising beef from start to finish.

Let me take you behind the scenes of what life on the farm has been like this spring. It’s one of the most magical times of year—when the land stretches and yawns after a long winter, and everything around us seems to hum with new energy.

We plan our calving season for April because it lines up perfectly with the grand show nature puts on this time of year. Everywhere you look, life is bursting at the seams.

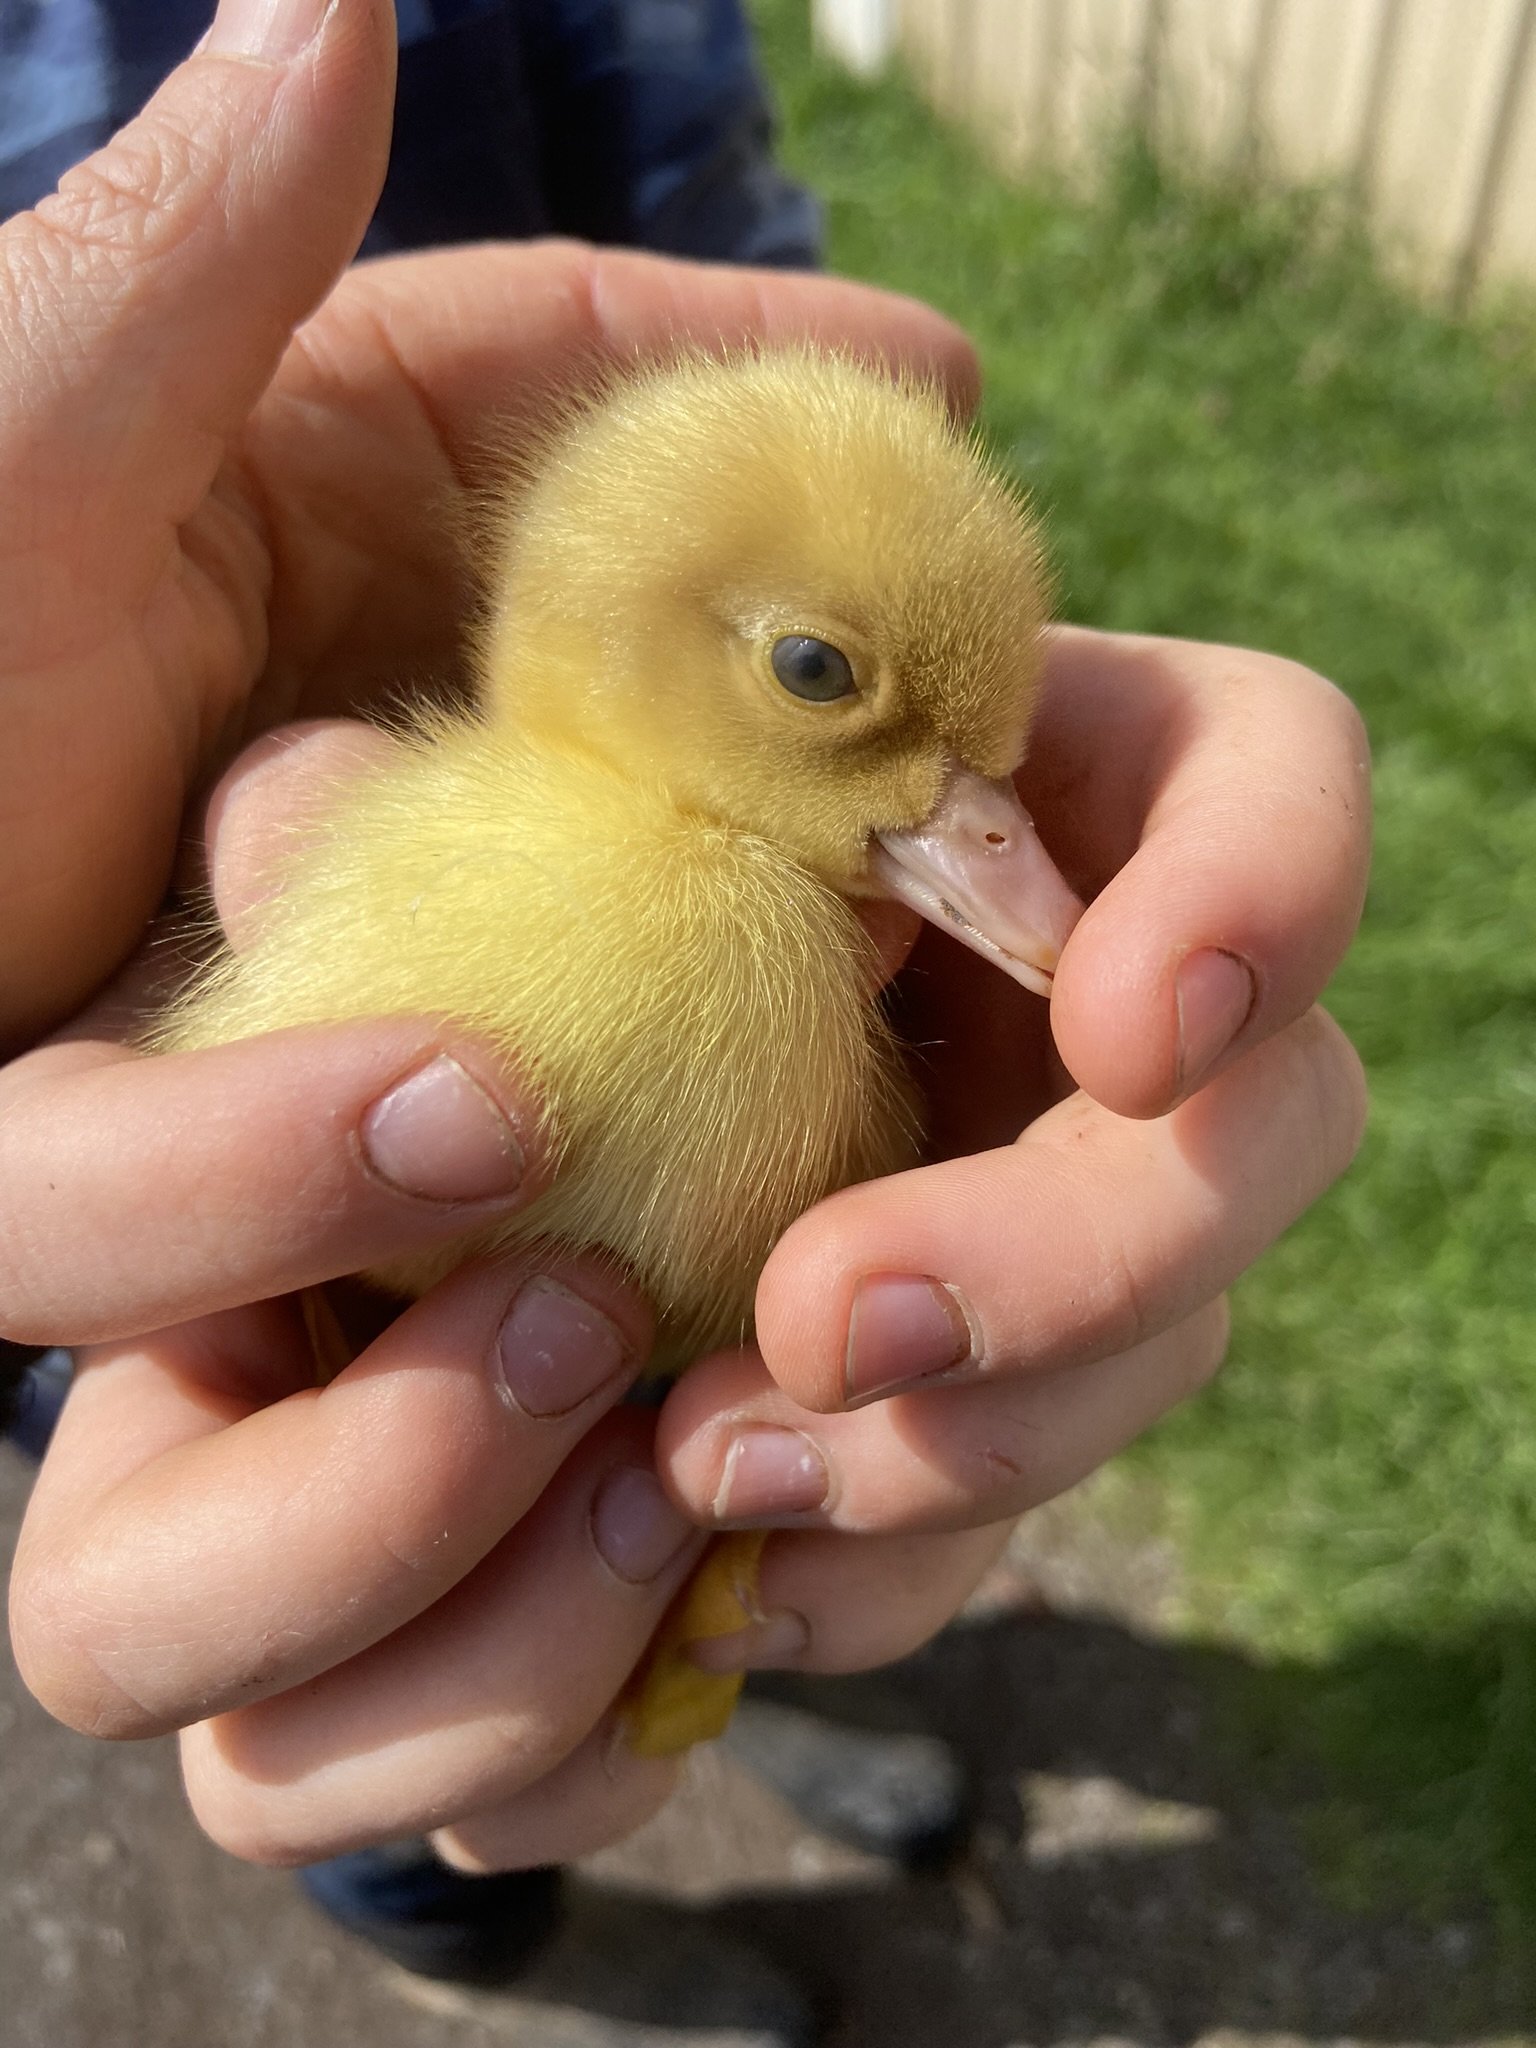
The ducks are parading their fuzzy little ducklings down to the pond, wild turkeys are strutting and gobbling in full display, and the deer are quietly tucking their spotted fawns into tall grass.

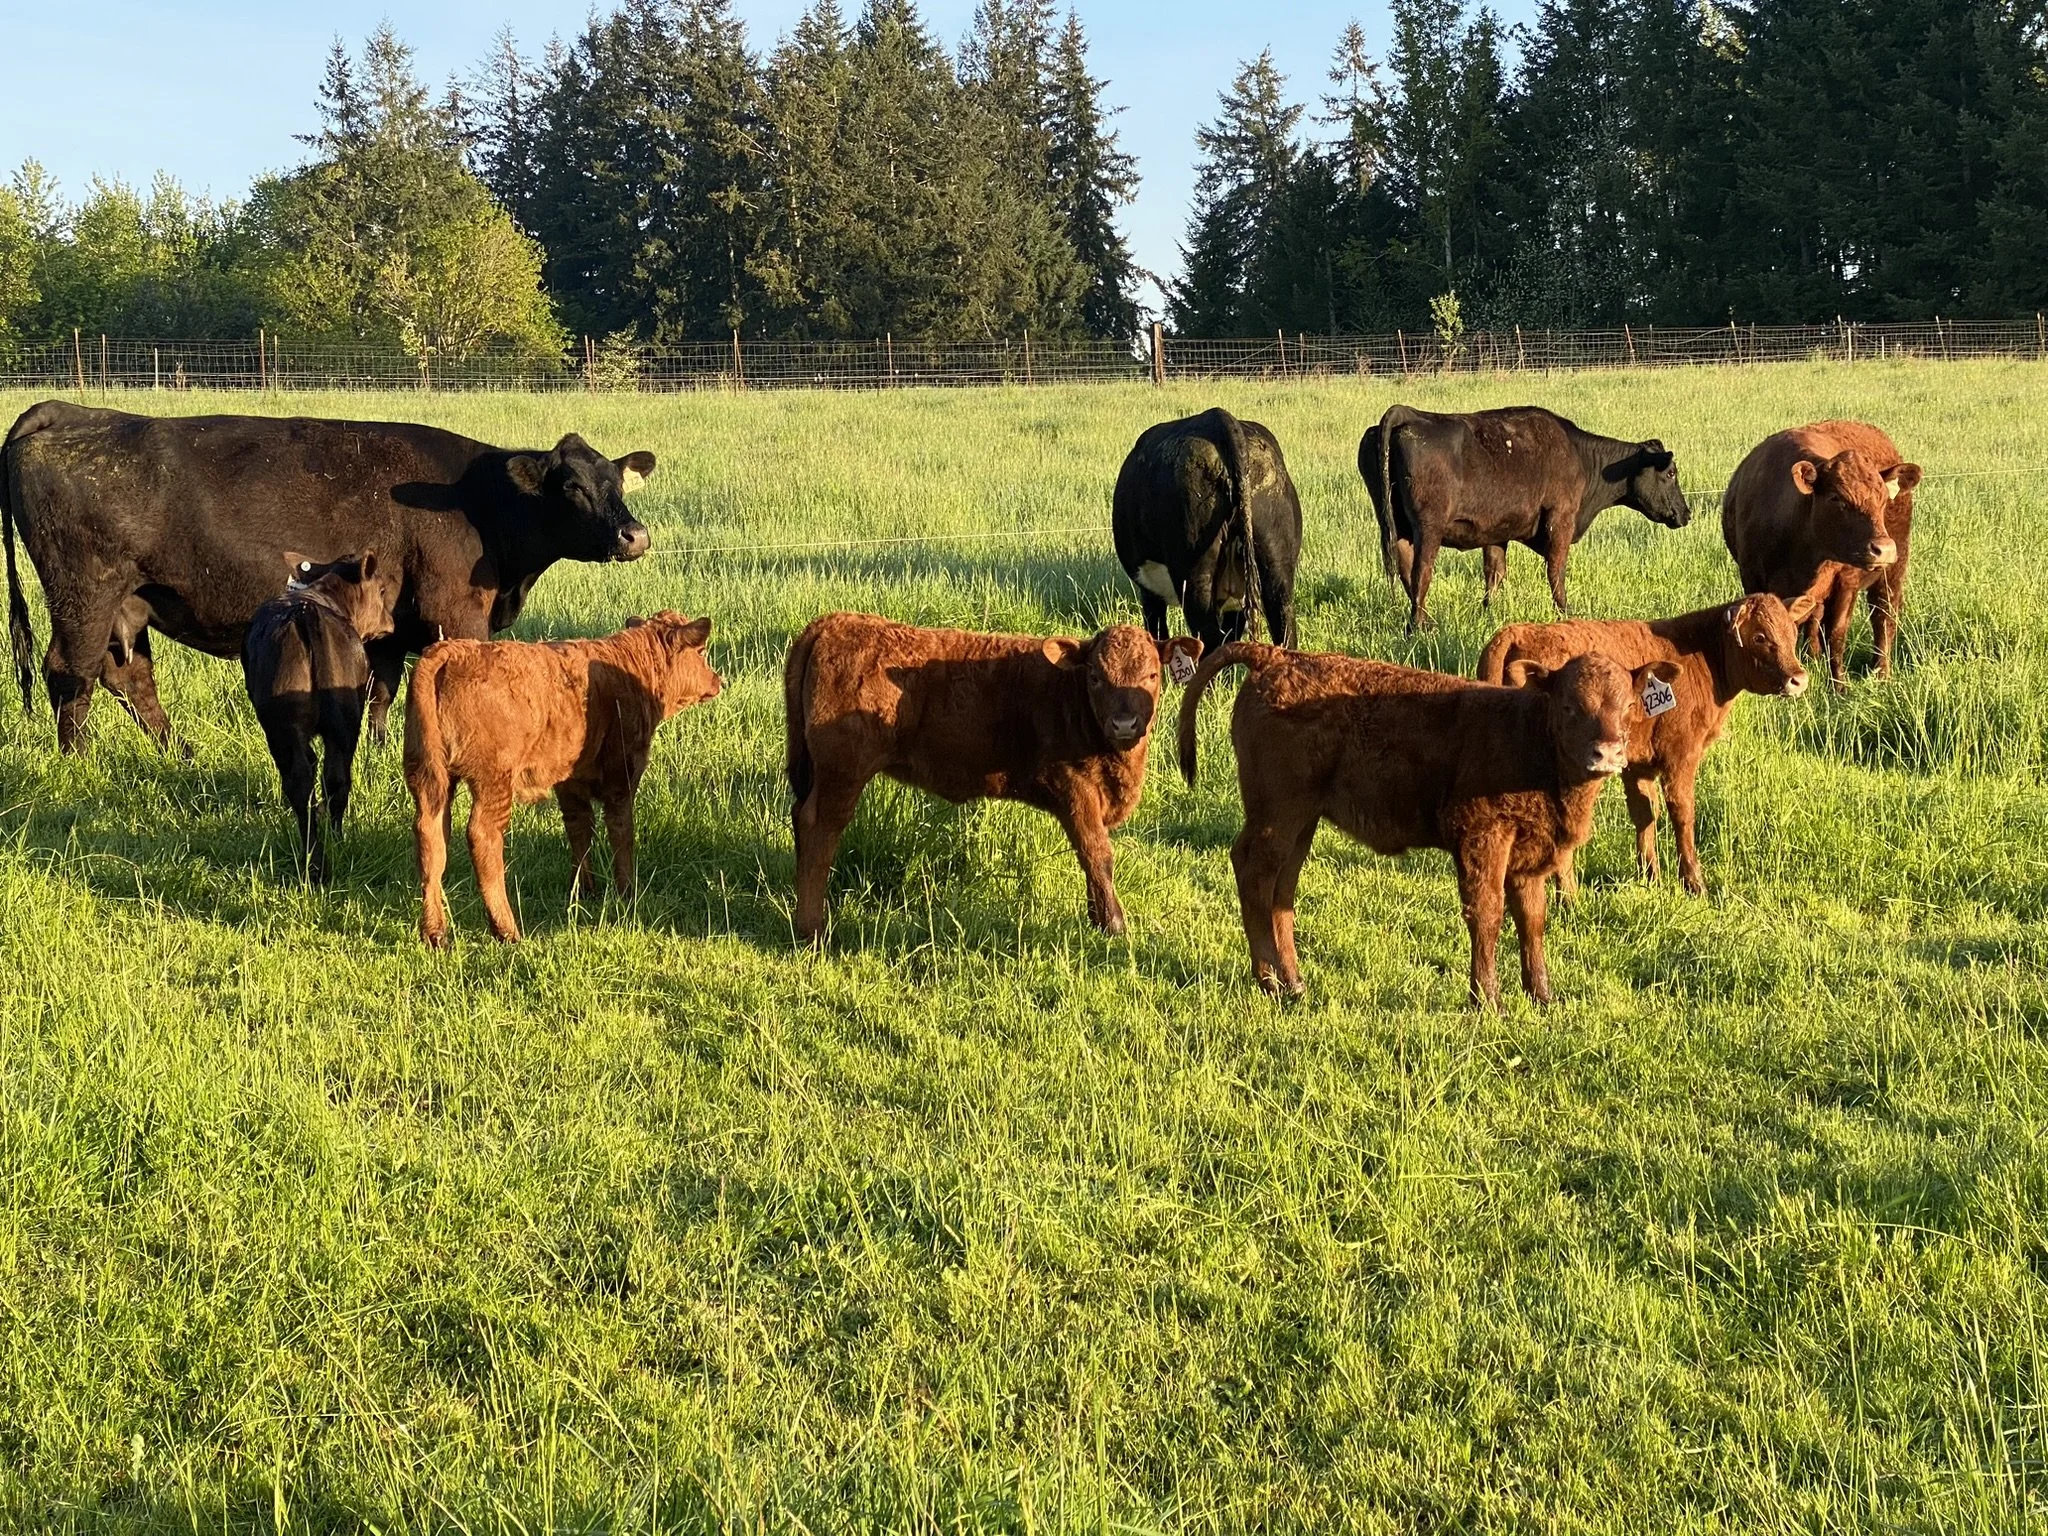
It’s a breathtaking season of rebirth—a symphony of new beginnings—and our baby calves fit right into the rhythm of it all.

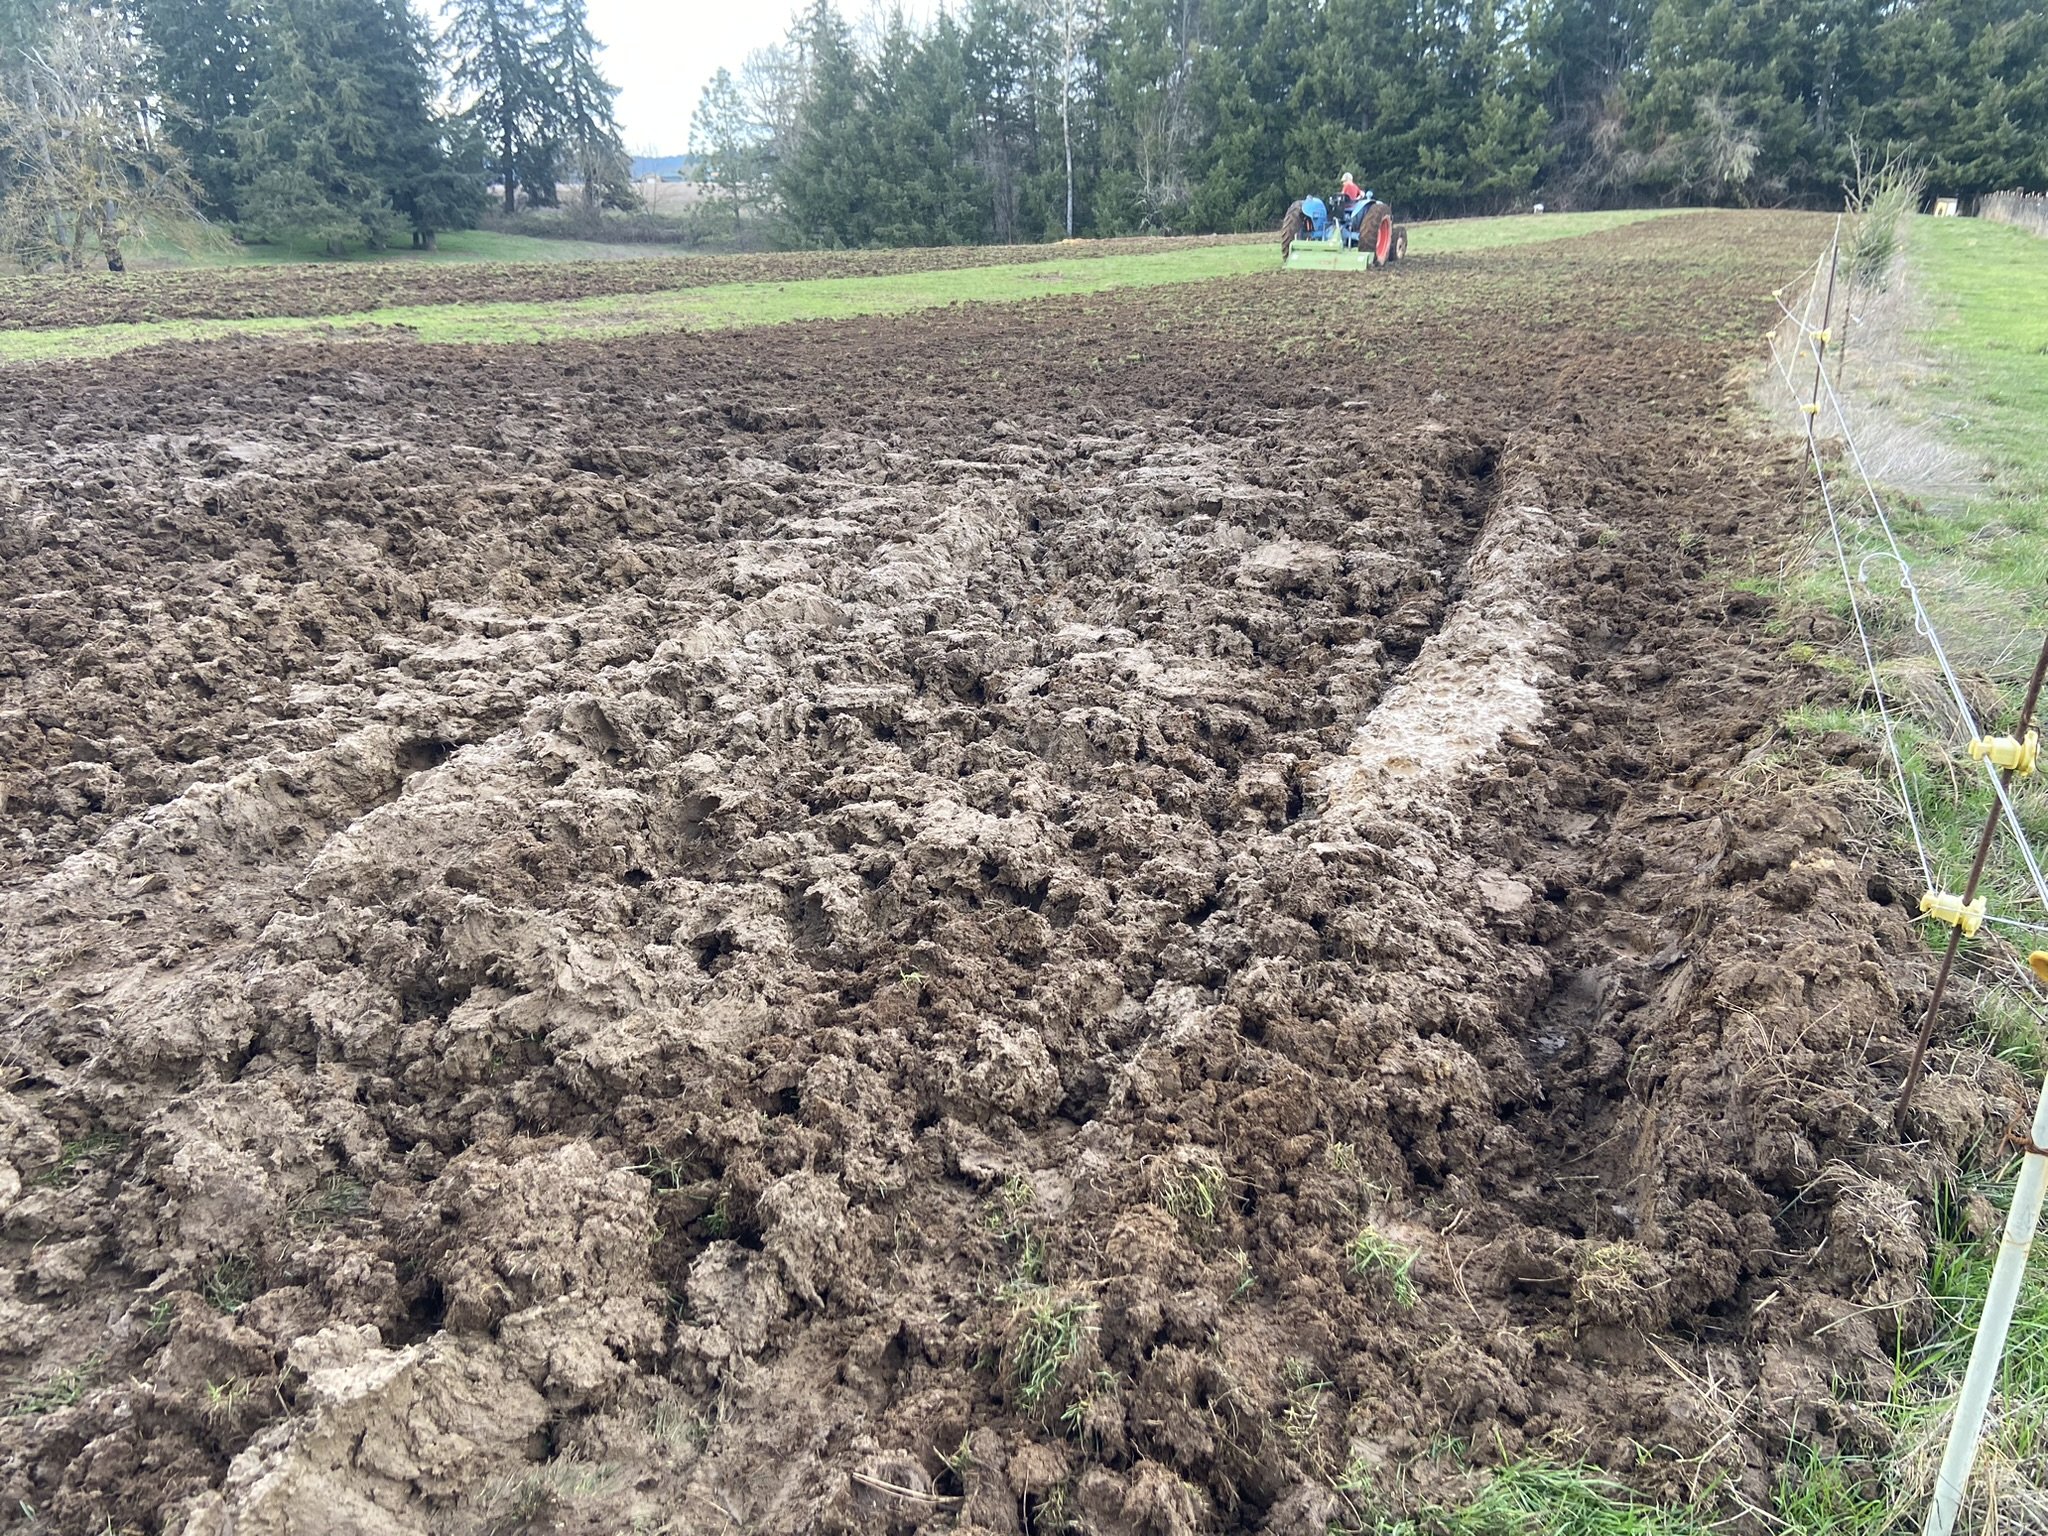
The signs of spring start small: the flower buds begin to swell and burst open on the fruit trees, and a soft green hue creeps over the pasture grass. The days grow a touch longer, and that’s our signal—it’s time to start watching the mama cows a little more closely.

This time of year, they look like they might pop. Either we’ve been spoiling them with too much hay, or they’re about to bring new life into the world.

A few months ago, we took blood samples to confirm pregnancies—our new, more accurate method. It’s much gentler than the old-school way, which involved a rather up-close exam using nothing but a gloved arm and a whole lot of guesswork.

This is a newer practice for us, but so far it’s been reliable.

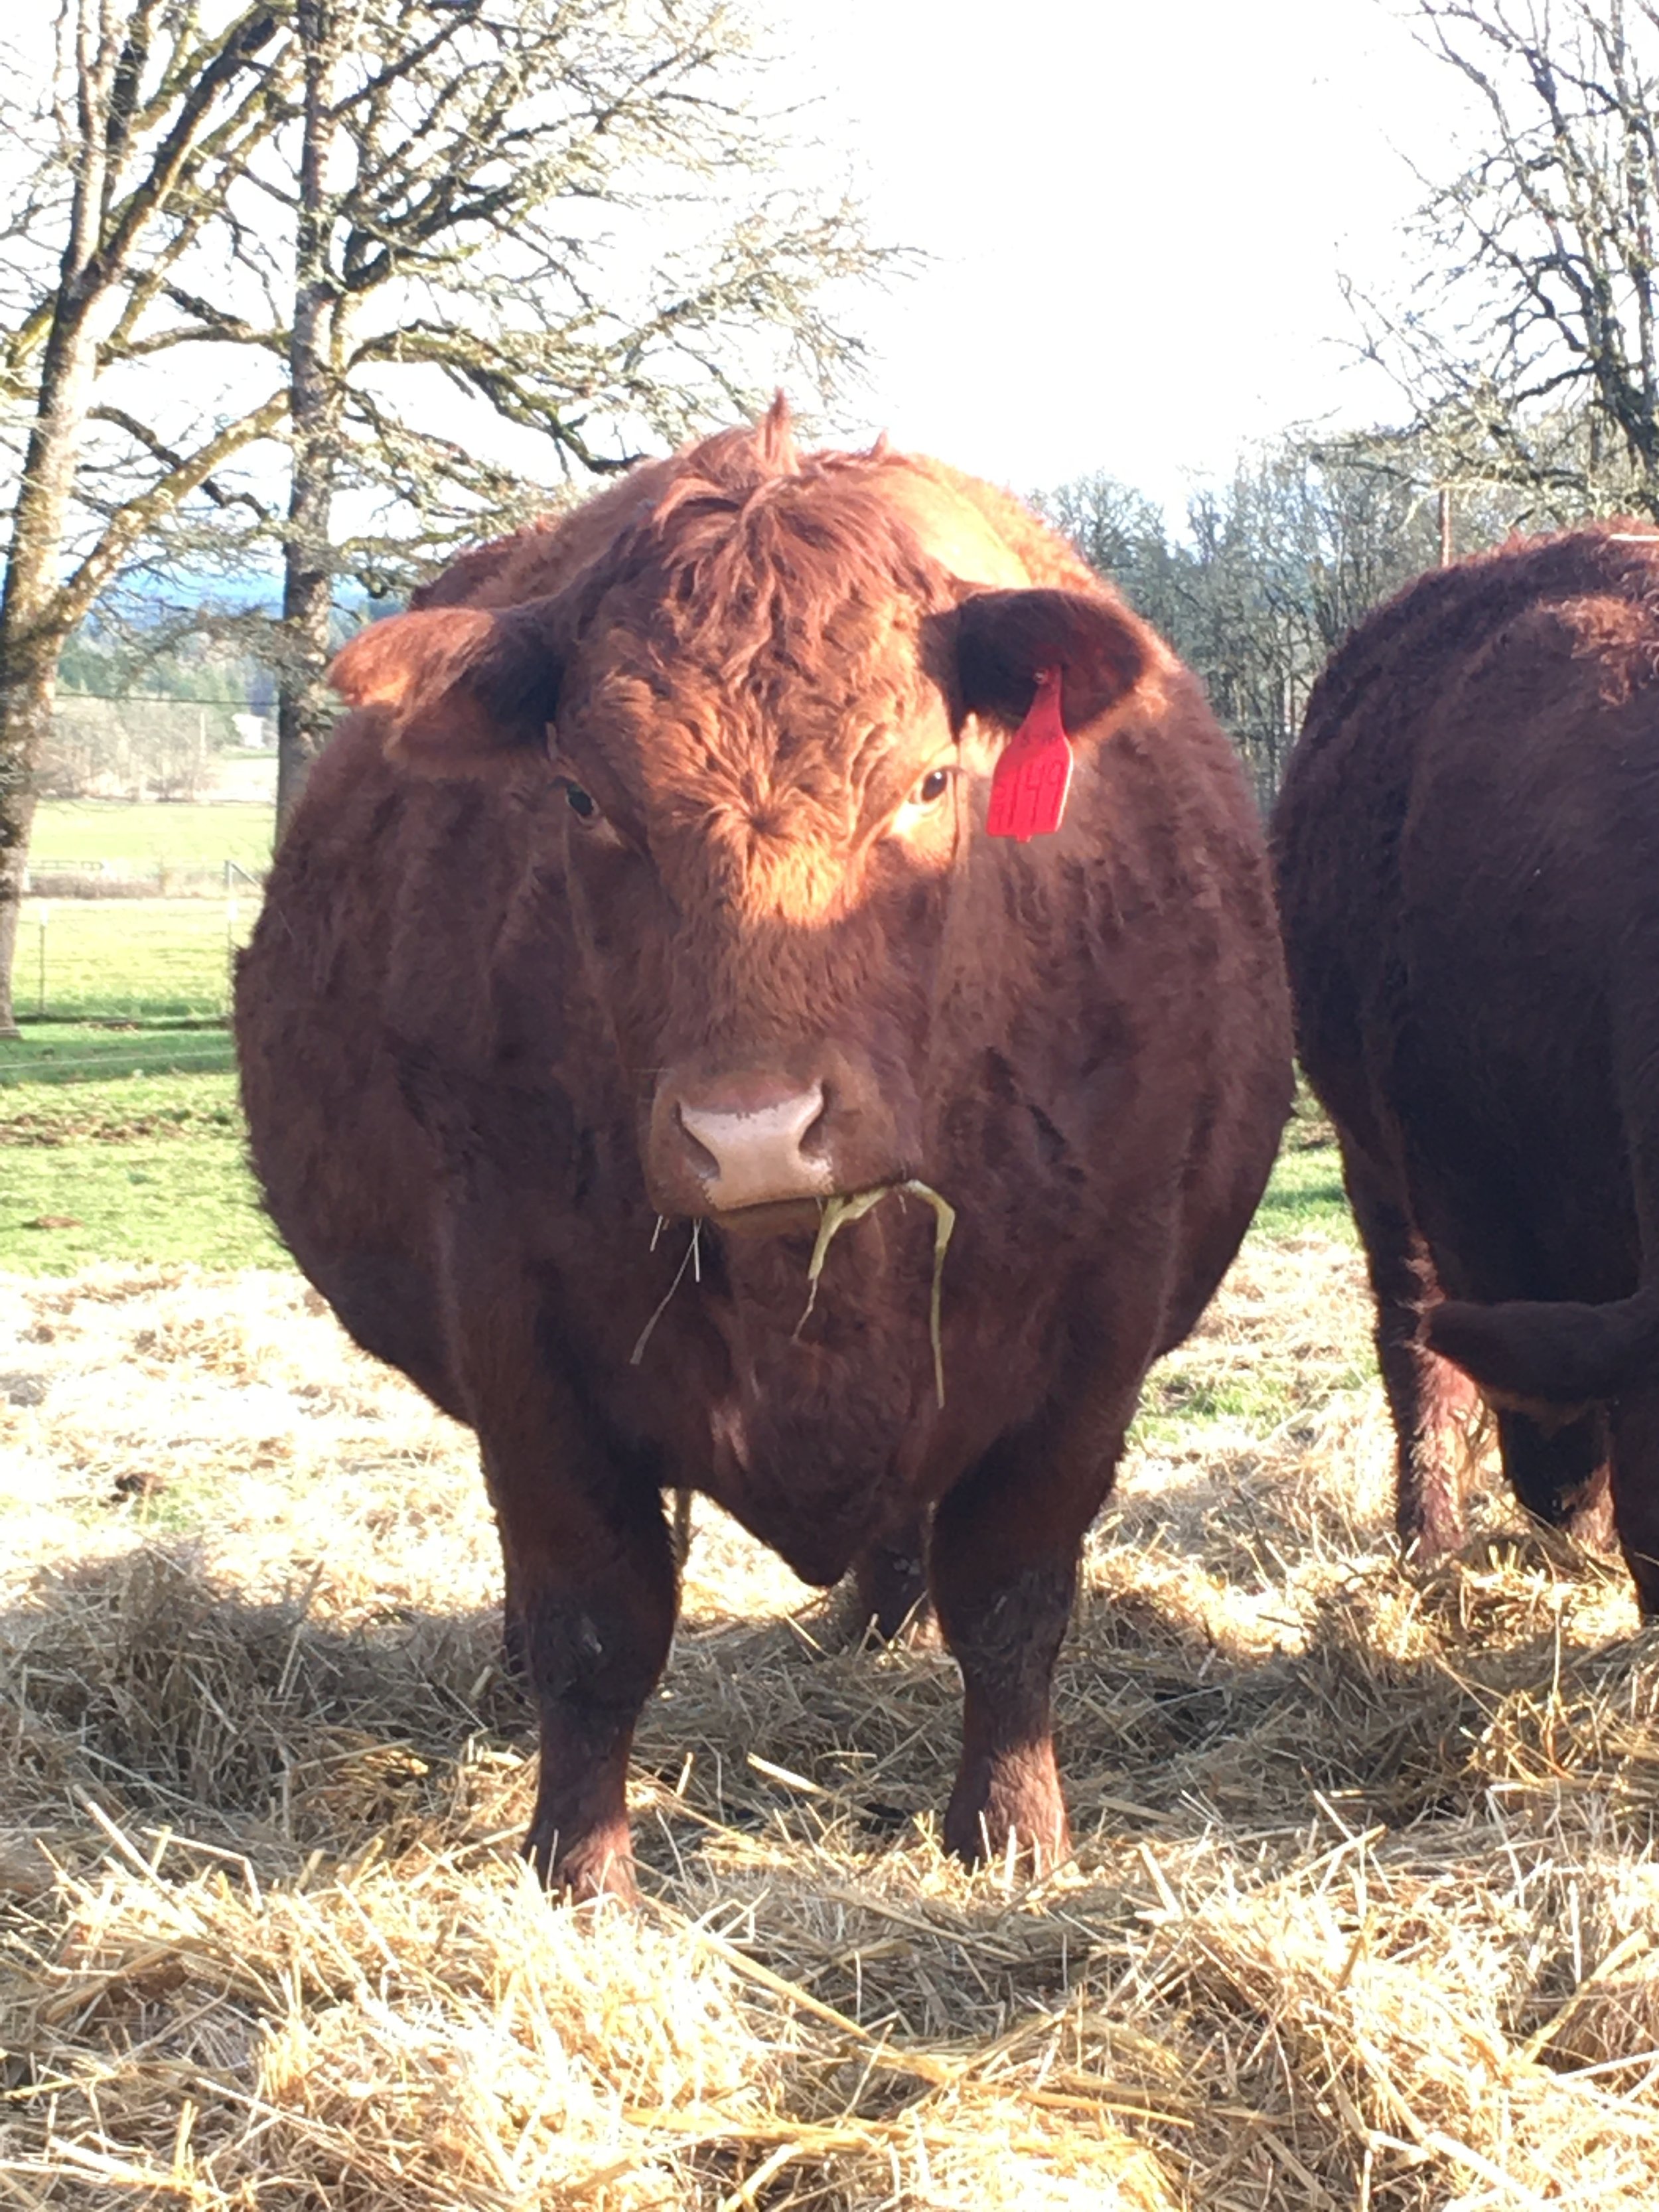
To understand how we got here, you have to rewind to last June. That’s when our calves were about three months old, and we turned the bull in with the mother cows. For two months, he did his job, and if all went well, each cow began their nine-month process of gestating a new life.

For most of our mama cows, this isn’t their first rodeo. They’re pros—nursing one calf while growing another.

When the nursing calf is 10 months old, feeling big and strong, and the next baby is nearly ready to be born, we wean the older calf. This gives Mama time to rest and recharge before she delivers again.

We call this delayed weaning, a practice that sets us apart from most conventional cattle ranchers, who typically wean calves between 6 to 8 months—sometimes even earlier, at just 4 or 5 months if pasture is scarce.

But we’ve found that giving calves more time at their mother’s side makes all the difference. The longer a calf can nurse, the stronger its immune system, the steadier its growth, and the fuller and healthier it becomes.

And if that calf is a heifer—one day destined to be a mama herself—staying close to her mother teaches her more than we ever could.

She learns by watching, by mimicking, by being part of the rhythm of maternal life. It’s slower, yes—but richer, too. A gentler way that, in time, raises wiser cows and more resilient herds.

And just like clockwork, we arrive at calving season. March rolls into April, and under the pull of a full moon, we begin to see the first signs—a change in posture, a quiet calm. Then, often under the cover of night, a new calf appears like a gift on the morning dew: a wobbly-legged, wide-eyed bundle of new beginnings.

This year, we’ve been blessed. No birthing troubles, no need to step in—just healthy mamas doing what they were made to do. That’s always the goal: trust nature, support where needed, and stand back in awe of the miracle that unfolds each spring.

One of the sweetest sights on the farm is what we like to call the cow babysitting club. It’s a quiet little tradition among the herd—completely instinctual, and endlessly heartwarming.

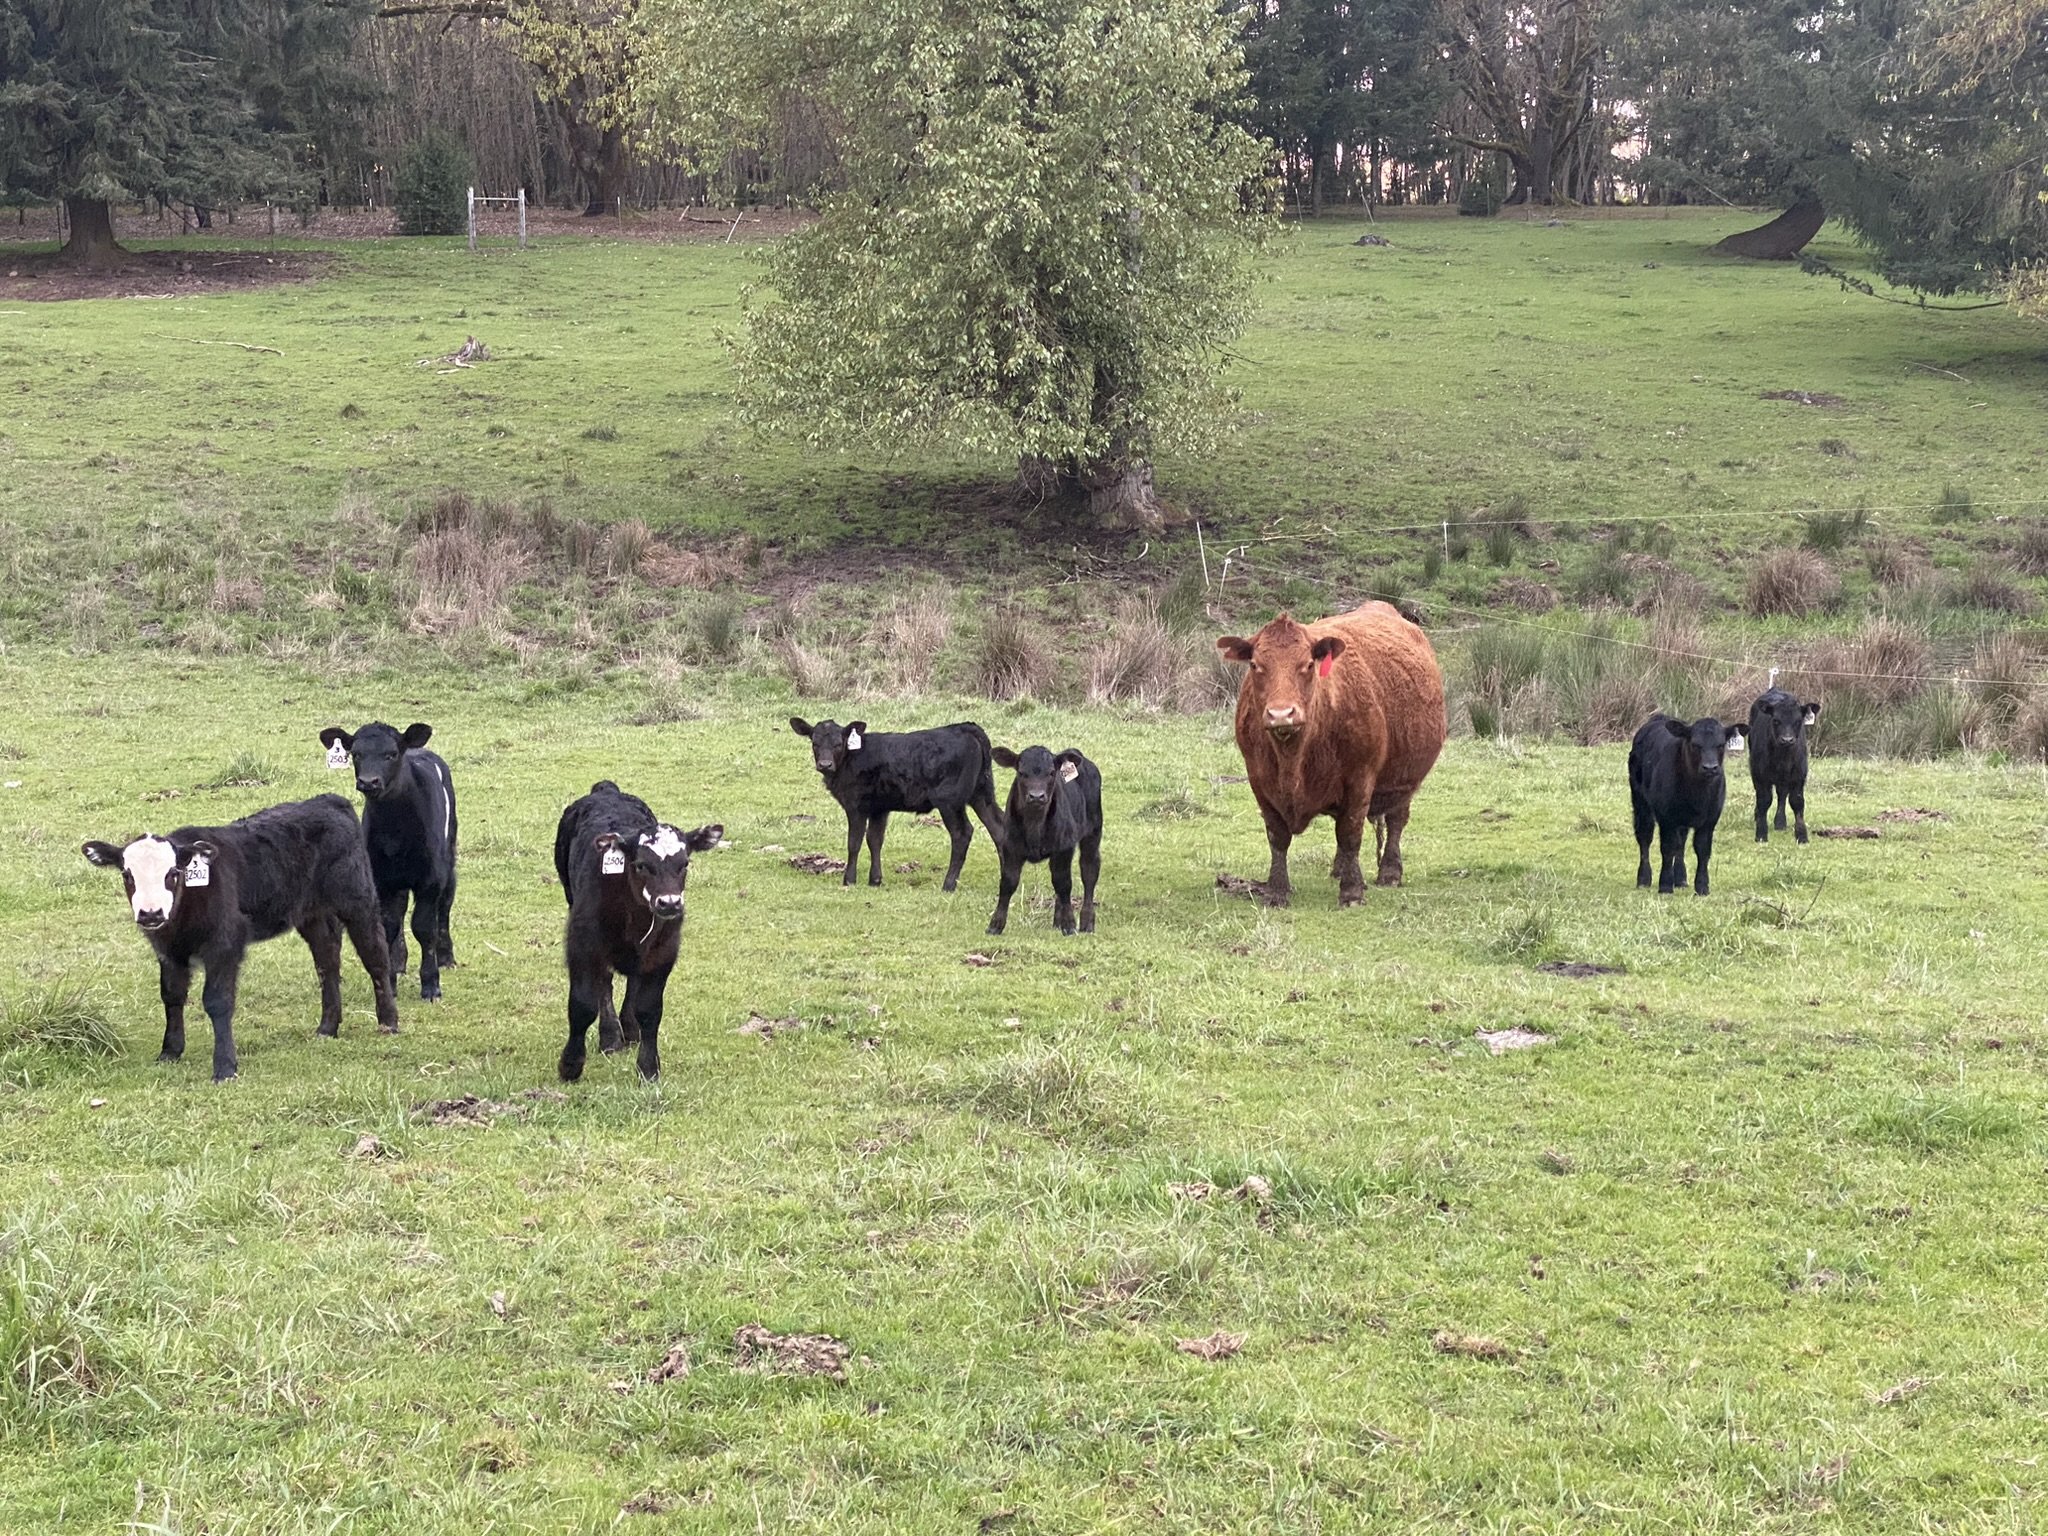
We’ll glance out across the pasture and see one mama standing calmly, surrounded by a circle of playful calves, while the rest of the mothers graze nearby, catching a break and maybe even sharing a moment of cow-to-cow conversation.

And then, the next day, they switch - taking turns without fuss, without direction, just an unspoken rhythm of care. Curiously, there’s always one cow who never steps in to babysit—a mama without a little one of her own. Still, the circle holds. It’s a reminder that even among animals, there’s community—a soft, sacred choreography of support.

We love sharing these moments with you, and if you’ve ever wanted to witness it all firsthand, we’d love to invite you to our Spring Farm Tour this May.

Come walk the pastures, meet the herd, and feel the heartbeat of the season.


Farm Tour DETAILS

When: Saturday May 31st

Time: 10am-12pm

Location: Nourished With Nature Farm, 34847 Bond Road Lebanon

Price: $40 per adult, children under 18 are free with their parent or guardian

Pigs Crave More Than Mud

Most of our pasture rehab happens in the spring, making it the perfect time to share this with you.

Pigs are natural diggers - they have a shovel on the end of their muzzle, and we love to let them use it!

October will be here before you know it, wrapping up the hog-growing cycle.

Plan ahead and snag your spot early—reserve your half or whole hog now!

The pigs love to root, turn, and till the soil with their powerful snouts, which means by the end of the season, the pasture can look like a battlefield.

But come spring, we start fresh.

The pastures and oak groves are empty since the piglets are still in the barn with their mamas.

It’s nature’s perfect time to begin the rehab process.

First, we clean up—picking up fallen branches and limbs that winter storms have scattered.

Sometimes, whole trees come down that need to be cut up and hauled away.

In summer, the pigs dig large holes that later fill with rainwater, making them nearly impossible to spot.

Here’s the tractor stuck in one of those hidden holes we accidentally drove into while spreading seed!

If the pigs have left deep holes or completely dug up the grass and its roots, we use the tractor to till gently before spreading a mix of seeds.

We rehab with grasses and legumes such as clover, triticale, oats, barley, ryegrass, peas, plantain, and vetch.

This gives the animals options and the soil a diverse ecosystem—the opposite of monoculture farming.

It’s like a salad bar for the pigs, but it also heals and nourishes the soil.

Healthy soil means healthy grass; and healthy grass means happy, well-fed pigs.

In early summer, we plant a giant pumpkin patch, knowing it will become a feast for the pigs later in the fall.

When the time comes, we let them loose to enjoy the pumpkins, which they absolutely love—crunching through the shells to get to the sweet, rich flesh inside.

Plus, the seeds act as a natural de-wormer, making this not just a treat but a healthy holistic option to using chemical de-wormers.

Why go to all this trouble?

Because I want to give you the best-tasting, highest-quality pork.

Over the years, I’ve noticed that where an animal is raised and what it eats directly affects its flavor.

Since I have a keen sense of taste and smell, I pick up on these differences easily…

I want to make sure that when you bring our pork to your table, it’s the clean, delicious, pasture-raised flavor you deserve.

That’s why we put so much care into creating a healthy, natural environment for our pigs—it’s all about giving you the very best.

By May, when the ground has dried out a bit, the pigs will be back out on pasture, roaming, munching, and doing what pigs do best.

In September, the acorns start to drop from the oak trees, and the pigs love to vacuum them up, adding a little nutty flavor to their meat.

We carefully time our piglet births and butcher to align with this natural cycle.

By October, you get to enjoy pastured pork that’s been raised exactly how nature intended.

And since our pork harvest will be here before you know it, now’s a great time to get on the waitlist for a half or whole hog.

A deposit secures your spot, so when October rolls around, you’ll have a full freezer of delicious, pastured pork.

Maple Mustard Pulled Pork

Something magical happens when you slather a pork shoulder with maple syrup, whole grain mustard and a few seasonings.

You end up with a heaping mound of succulent, juicy shreds of meat that are a little sweet and a little tangy.

Pop this shoulder in the slow cooker first thing in the morning and you have an almost effortless dinner that’s perfect for spring time when you’d rather be in the garden than the kitchen.

With a few simple, wholesome ingredients you’ll have a mouth watering burst of flavors that leaves you thinking, “Wow, I’d make that again!”

Serve this up with a side of garlic mashed potatoes or roasted cauliflower. If you have leftovers you can use them in tacos or over a green salad the next day.


ingredients:

FOR the shoulder

4 1/2 pounds Nourished With Nature Pork Shoulder Roast

1 Tablespoon dried oregano

1 Tablespoon ground mustard

1 teaspoon salt

1/2 teaspoon ground black pepper

1 medium yellow onion, finely diced

4 garlic cloves, minced


for the sauce

1/2 cup pure maple syrup

1/3 cup whole grain mustard

1/2 teaspoon dried oregano

1/4 teaspoon salt

pinch of ground black pepper


instructions:

  1. To make the pork shoulder, stir together the oregano, ground mustard, salt, and pepper in a small bowl. Rub the spice mixture generously over the entire roast. Place in the slow cooker, and add the onion and garlic around it.

  2. To make the sauce, in a medium bowl, stir together the maple syrup, whole grain mustard, oregano, salt, and pepper. Pour half the sauce over the pork. Secure the lid of your slow cooker and cook on low for 8-10 hours or on high for 5-6 hours until the meat is fall-apart tender. If you’re short on time, you can also use your InstantPot and cook on high for 60 minutes.

  3. Use two forks to shred the meat, removing any bone or extra fat you don’t want (remember, some fat is good). Pour the remaining sauce over the meat and stir together. Serve warm with mashed potatoes or roasted cauliflower and garnish with chives.

Add the meat to a glass dish to reheat and pop it in the oven. I like to use the broiler setting, watching closely and turning the meat often with a couple of forks.

You can pick up a shoulder roast or two at the Farmer’s Markets or Farm Store.

If you order a 1/2 hog, you can always have several shoulder roasts on hand!

Let me know in the comments if you try this and what you think

Sincerely,

Julia

*recipe adapted from Downshiftology Healthy Meal Prep by Lisa Bryan

How To Make Whipped Tallow Body Butter

If you’re interested in using tallow as your new skin care hero, you’re in the right spot!

You can use it on your face at night as a moisturizer, you can use it on your dry hands or cracked heels.

I’ve even recently used it in my nostrils and on my upper lip when they were dry and soar after a cold.

My husband used it on a sensitive rope burn on his inner wrist and it healed beautifully.

What is Tallow?

It’s the fat from ruminant animals, most commonly beef. But it can also come from sheep, goats, bison, deer or elk.

I’ve made it easy for you to try out this new miracle product.


option 1

Just come buy it in the Farm Store. If you don’t have the time to spend on a DIY project and prefer not to mess up your kitchen, it’s ready to go!


option 2

Come to the Farm Store or Farmer’s Markets and buy tallow already rendered. Then you can take it home and make your own body butter by melting it, adding your other ingredients and whipping it. Pretty easy and very customizable.

Option 3

Buy unrendered beef fat from our Farm Store or Farmer’s Markets.

Grind it in a meat grinder or chop it super fine with a knife, then melt it in a croc pot and strain it. Then you’re ready to mix in the other ingredients and whip it.

Tutorial Video: How To Render Pork Lard (same exact process for beef tallow)

Rendering your own tallow is not hard, but it does take time. It’s the best option if you are wanting to spend less money and you have an abundance of time.

Have you heard the saying: “QUALITY, TIME or PRICE, PICK ANY TWO”

Well, rendering your own you get exceptional QUALITY because it comes from our grass fed and finished, antibiotic, hormone and vaccine free cows.

It takes more TIME than buying it already rendered, but the PRICE is low. So you win in the QUALITY and PRICE categories.

I love this saying because it relates to meat and new roofs just the same.

So lets get started…


Equipment NEEDED:

  • Meat Grinder or Food Processor (if you are rendering your own)

  • Croc Pot (only if rendering your own)

  • Medium Saucepan

  • Medium Mixing Bowl

  • Wooden Spoon

  • Hand Held Mixer

  • Glass Jars

Ingredients:

  • 16 oz rendered Beef Tallow

  • 4 Tablespoons of an oil that is liquid at room temp (olive, avocado, fractionated coconut, pomegranate seed, jojoba, or rosehip oil)

  • Lavender, Frankincense and Elemi Essential Oils (optional, if you want the highest quality ask me about Young Living’s)

Instructions:

This is actually so easy, you’re going to be shocked!

  1. You’ll need rendered tallow. If you have bought rendered tallow from our farm store, heat it in a saucepan, stirring so that it all melts. When it’s in liquid form, pour it into a mixing bowl with high sides. Let it cool to room temp, but not so much that it starts to harden.

    If you have rendered your own, and it’s still in liquid form, pour it through a mesh sieve to catch any hard bits. Let cool to room temp.

    Then add your other liquid oil of choice (olive, avocado, fractionated coconut, etc)

  2. Stir with a wooden spoon your oil and tallow mixture, just until combined. Let sit on the counter until it turns solid. If your house is too warm you may want to place in the fridge. Tallow at room temp does not spoil so you don’t need to worry about it going rancid. It should have a white color.

  3. Once solid, use your hand held mixer to whip the tallow and oil mixture. You may need to scrape the sides a time or two. It should look like cake frosting, and there shouldn’t be any hard lumps. If you do have hard lumps, let it warm up at room temp a little longer and whip again.

  4. This is when you can add the (optional) essential oils. Start with a few drops, test the scent, and add more if needed. I used 10 drops of Lavender, 5 drops of Frank and 5 drops of Elemi.

  5. Scoop into glass jars and secure with a lid. Store in a cool dark place for up to 6 months. If you have lots of extra, you can store in the freezer for up to a year. Make sure to label your jars with a date too!

These make great gifts to give to your friends or family for the holidays.

When you’re ready to enjoy this Whipped Tallow Body Butter remember that a little goes a long way.

Good luck!

I can’t wait to hear how you like to use it!

Leave a comment here if you have any questions or pop into the farm store on Fridays.

Yours Naturally,

Julia

Flavorful Flanken Ribs

This is a quick and easy, but super flavorful meal.

The longer you marinate for the more flavorful these will be, I marinated these for about 5 hours. I only needed to sear them for 3 mins on each side so keep a close eye on them so you don’t overcook.

You can also cook these on a high heat grill, flipping halfway through. If you overcook them they will be tough, so ere on the side of hot and fast.


ingredients:

  • 1lb Nourished With Nature Beef Flanken Style Short Ribs

  • ¼ cup Coconut Aminos (or soy sauce)

  • ¼ cup Brown Sugar (can substitute coconut sugar or honey)

  • 1 Tbsp Olive Oil

  • ½ Tbsp Garlic Powder

  • 1 tsp Onion Powder

  • 1 tsp Ground Ginger

  • 1 tsp Black Pepper

  • 1 tsp Sea Salt (optional to taste)


instructions:

  1. Place Flanken Ribs in a ziploc bag

  2. In a separate bowl, combine the remainder of the ingredients together for the marinade

  3. Pour the marinade over the ribs in the Ziplock bag trying your best to coat the ribs in the marinade.

  4.   Remove as much air out of the bag as possible and zip it up well, then place the bag in the refrigerator for at least one hour, but preferably overnight.

  5. To cook, place a cast iron skillet on the stove and heat it up over medium high heat for at least one minute.

  6. Once the pan is piping hot, place the short ribs in the skillet and press them out flat. Don’t overcrowd, you will have to cook in batches. 

  7. Seer each side for about 3-5 mins, then cook remaining ribs.

  8. Once cooled, enjoy!

*Recipe and pictures provided by Samantha Stephens